Effective video editing on TikTok is the difference between a clip that gets scrolled past and one that holds a viewer's attention until the very last second. The platform’s internal editor has evolved into a robust multi-track system that allows for precise control over timing, sound, and visual overlays. To edit like a professional, you must move beyond simply hitting the record button. You need to understand how to structure your timeline, when to use specific transitions, and how to integrate high-quality external assets into your projects. This guide provides a direct, technical breakdown of the editing process, solving the common hurdles of pacing and visual clarity.
1. Navigating the TikTok Video Editing Timeline
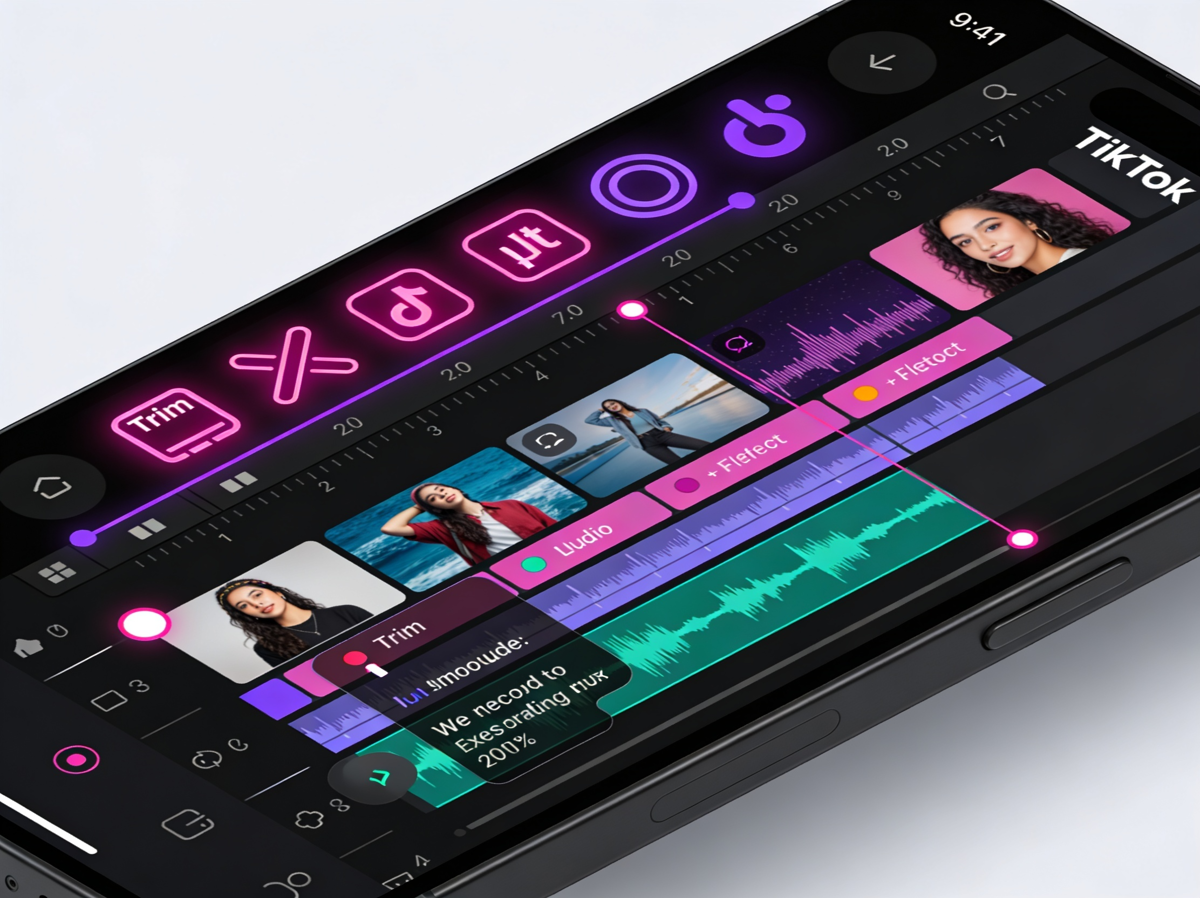
The heart of your creative process is the "Edit" menu, which you access after recording or uploading your footage. Unlike simpler versions of the app from years past, the current interface uses a non-linear timeline. This means you can see your video tracks, audio tracks, and text layers stacked on top of each other.
To start, you need to import your clips. You can either record directly in-app or upload pre-recorded footage from your gallery. Once in the editor, you can tap the "Edit" icon (the scissors) to open the full timeline view. Here, you can drag the edges of individual clips to trim them. Precision is vital; removing even half a second of "dead air" at the start or end of a clip keeps the energy high. If you have a long take and want to remove a mistake in the middle, use the "Split" tool to cut the clip into two pieces, then delete the unwanted segment.
2. Syncing Audio and Using Sound Sync
Audio is half the experience on TikTok. Whether you are using a trending song or an original voiceover, the timing must be perfect. The app offers a "Sound Sync" feature that can automatically trim your clips to the beat of a chosen track, but manual syncing often yields better creative results.
When you add a sound, it appears as a blue bar beneath your video track. You can drag this bar to align specific lyrics or beats with transitions in your video. For dialogue-heavy videos, use the "Volume" tool to ensure your voiceover is clear while the background music sits at roughly 10-15%. This prevents the music from drowning out your message. If you are analyzing how other creators perfectly time their edits to music, it is helpful to have a reference file. Using a resource like Savettok.org is a smart move; it's an online, fast, and free platform that lets you download TikTok videos WITHOUT watermark. Having these clean files on your device makes it much easier to study the waveform and rhythm of successful edits without the visual clutter of the app's UI.
3. Applying Transitions and Visual Effects
Transitions are the glue that holds your story together. TikTok provides a dedicated "Transitions" menu within the editor, offering options like "Zoom," "Slip," and "Fade." To apply these, you must have at least two clips on your timeline. Tap the small icon between the two clips to select your transition style.
However, the best transitions are often physical. For example, the "cover the camera" transition or the "jump" transition requires you to end one clip with a specific movement and start the next with the same movement. In the editor, you must trim these clips so the action is seamless.
- Visual Effects: Use the "Effects" tab to add motion blur, slow-motion segments, or color filters.
- Keyframes: For advanced users, keyframes allow you to animate an object or text layer, making it move across the screen or change size over time.
- Stickers and GIPHY: Use these sparingly to emphasize points, but ensure they don't block the main action of the video.
4. How to Add Text and Automated Captions
Captions are no longer optional. A significant portion of the audience watches videos with the sound off, especially in public spaces. TikTok’s "Auto-captions" feature is highly accurate, but it usually requires a quick manual review to fix spelling errors or brand names.
Once the captions are generated, you can change the font, color, and background to match your brand aesthetic. More importantly, you can set the "Duration" of your text. By tapping on a text box and selecting "Set duration," you can choose exactly when the text appears and disappears. This is useful for "pointing" at text or revealing information in sync with your speech. Pro-tip: Keep your text within the "safe zones"—avoid the very top, bottom, or right side of the screen, as it will be covered by the caption, the search bar, or the profile icons.
5. Professional Color Grading and Filters
The "vibe" of your video is often determined by its color. TikTok’s built-in filters are categorized by "Portrait," "Landscape," and "Food." While these are convenient, you can achieve a more professional look by using the "Adjust" tool.
Inside the Adjust menu, you have control over:
- Exposure: Brighten up videos shot in low light.
- Contrast: Make your colors pop and the shadows deeper.
- Saturation: Enhance the richness of the colors.
- Temperature: Make the video feel warmer (orange) or cooler (blue).
A slight increase in saturation and contrast usually makes mobile footage look more like it was shot on a professional camera. Consistency is key here; if you are making a series of videos, use the same adjustment settings across all of them to create a unified look for your profile.
6. Using Green Screen and Overlay Features
The Green Screen effect is one of the most versatile tools in the TikTok library. It allows you to place yourself in front of any image or video. This is commonly used for "reaction" videos, tutorials, or storytelling where visual context is needed.
To use this, select the Green Screen effect before you start recording, or apply it to a pre-recorded clip in the "Overlay" section of the editor. The Overlay tool is particularly powerful because it allows you to "stack" videos. You can have your main footage playing while a smaller video plays in the corner. This is excellent for showing a "before and after" or providing a live commentary on a piece of content you’ve found. If you need to use a high-quality background video from another creator, remember that fetching it via an online, fast, and free service ensures you don't have to deal with unsightly watermarks in your background.
7. Optimizing Video Length and Pacing
The length of your video should be dictated by the content, not by the maximum limit. While TikTok allows for 10-minute videos, the most successful content often sits between 15 and 60 seconds.
The "hook" must happen in the first 3 seconds. In your edit, this means starting with an action or a compelling visual rather than a "Hello everyone" intro. Use the "Speed" tool to accelerate slow-moving parts of your video. For example, if you are filming a cooking tutorial, you can speed up the chopping segments to 2x or 3x while keeping the final plating at 1x speed. This variation in pacing keeps the viewer's brain engaged and prevents them from losing interest.
8. Exporting and Final Quality Check
Before you hit "Post," you must perform a final quality check. TikTok has a setting called "Allow high-quality uploads" which is often turned off by default to save data. You must ensure this is toggled on in the "More options" menu before posting.
Check your audio levels one last time. Is the music too loud? Are the captions readable? Does the transition feel smooth? If you are satisfied, consider saving the video to your device as well. This creates a backup of your edited work. Because you’ve put so much effort into the edit, you want the final version to be as crisp as possible. Using a reliable browser-based tool to manage your content library helps you maintain this standard. It’s a clean way to keep your assets organized without the heavy footprint of some mobile apps.
9. Frequently Asked Questions
Why is my TikTok video blurry after I edit it?
This usually happens because "High-Quality Uploads" is turned off in your settings or because you edited a video that was originally low resolution. Always shoot in 1080p and ensure your lighting is bright, as low-light footage often becomes grainy during the editing process.
Can I edit a TikTok video after I have already posted it?
No, you cannot edit the actual video footage once it is live. You can only edit the description and the cover link. If you made a major mistake, the best solution is to download the video, make your edits, and re-upload it.
How do I remove a watermark from a video I want to edit?
If you are looking to repurpose your own content or study someone else's, you can use Savettok.org. It allows you to download TikTok videos WITHOUT watermark so you have a clean file to work with. This is a free, fast, and online method that preserves the original video quality.
What is the best video length for the TikTok algorithm?
While there is no "perfect" length, videos between 21 and 34 seconds generally perform well. However, if your content is engaging, people will watch for minutes. Focus on the pacing rather than the clock.
How do I add my own music to TikTok?
You can upload a video with your own audio already edited in, or you can use the "Upload" feature in the sound library. If you are using copyrighted music you don't own, TikTok may mute your video, so it's usually safer to use the licensed music provided in their library.
Is it better to edit in TikTok or a third-party app?
TikTok’s internal editor is great for trends and quick edits. However, for complex storytelling, many professionals use apps like CapCut or Premiere Pro. CapCut is especially useful because it is owned by the same company as TikTok and integrates seamlessly.


